-
Gluten Free
-
Vegetarian
Make Ahead Easy Homemade Dulce de Leche
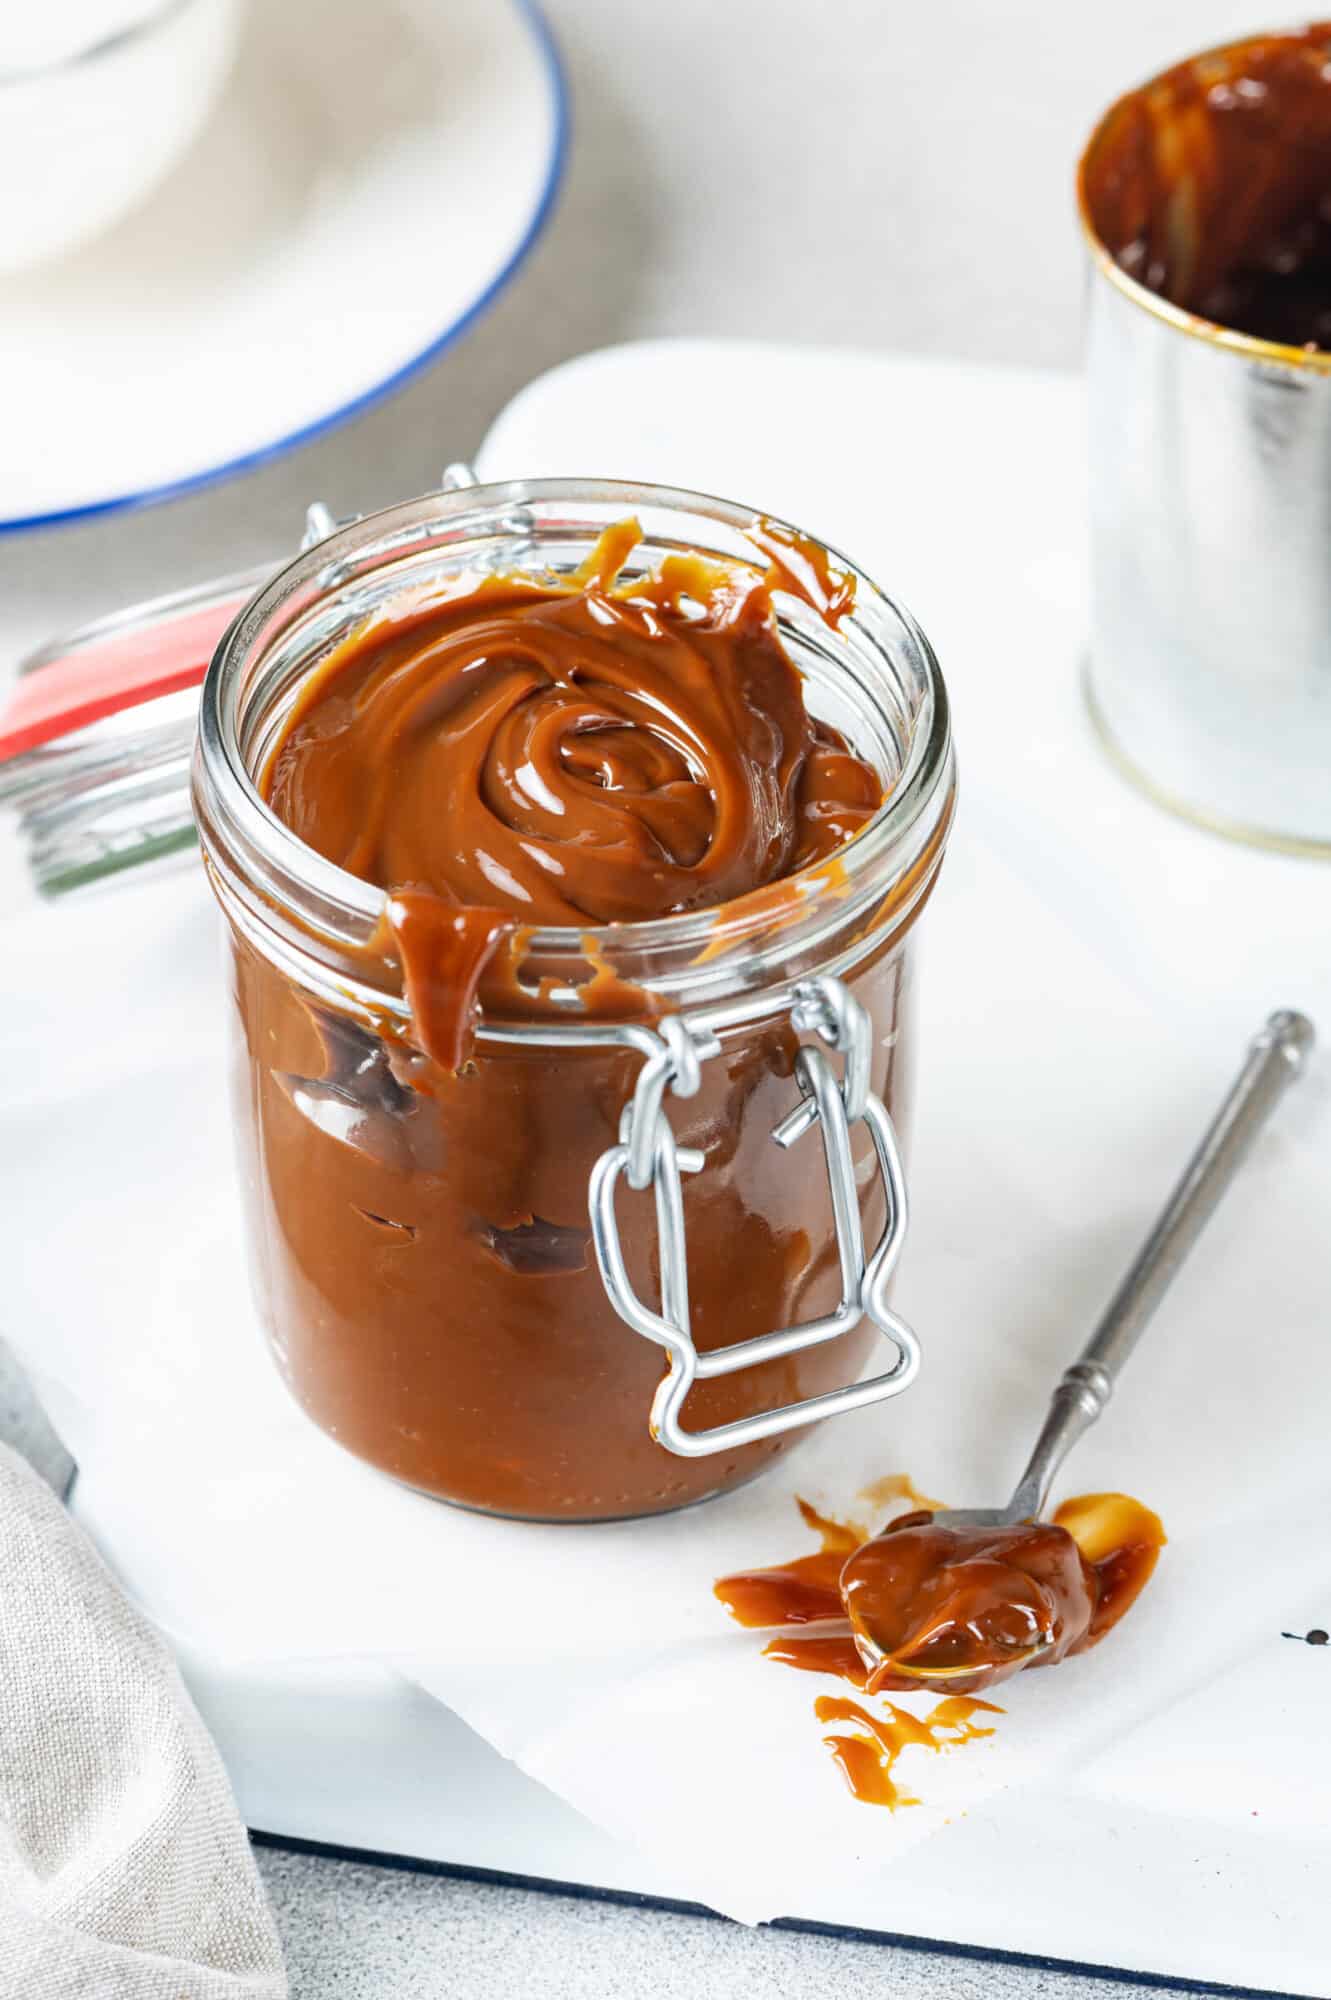
Having Dulce De Leche at home can save you a lot of time. Whether you’re a spontaneous baker or a once-in-a-while cookie/cake enthusiast, learn how to make it with me!

There’s something about this sweet and easy recipe.
I’m someone who thinks dulce de leche makes everything taste better. It’s something that I enjoy licking right off the spoon. I’d freeze it into popsicles and devour them if I had my way. I digress.
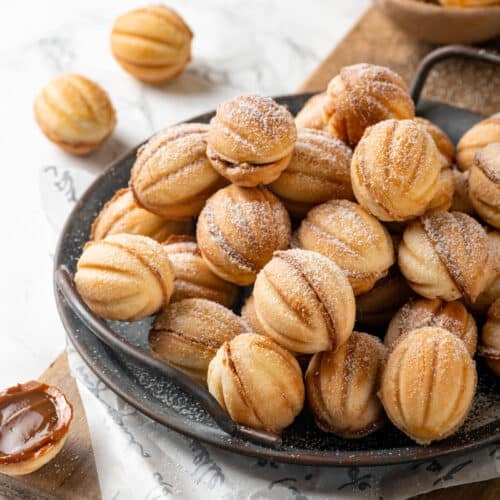
When I’m baking, I sometimes get the brilliant idea of adding dulce de leche to a recipe to see how it would taste. Lots of recipes do actually call for dulce de leche, like these delicious walnut-shaped cookies. Having a few cans at home can be quite helpful.
Today, I’m going to share with you how you can make dulce de leche at home to save you time next time you’re baking.
It all starts with a can of sweetened condensed milk. Or four, or ten. However much you want to keep in stock.
If it’s your first time making it, you’ll want some things to remember:
First, you’ll need to remove that paper label: you won’t want it coming off in the middle of the cooking process! This label is easiest to remove before you begin.
You’ll want to boil water in a pot – enough so your can/cans are completely submerged throughout the entire process.
Don’t get too impatient with the boiling process. It takes time for the condensed milk to cook in the hot water and become dulce de leche.
Two hours of boiling to be exact. No more, no less. Two hours is the sweet spot, and will get you the best results. Then, you can remove the milk cans with a pair of tongs.
Let those cans rest. You need to give the hot dulce de leche time to cool down after they’ve been boiling for two hours.
You can speed up the process by putting them in the refrigerator. I prefer to just let them come up to room temperature on the counter.
So, that’s it! You’ve got your own little stock of dulce de leche that you can conveniently use whenever needed!

This recipe is worth it, no matter which way you make it.
You can make it several different ways, including in a pressure cooker or a slow cooker, or even instant pot dulce de leche. But my mother taught me one of the traditional methods in making it.
That’s to just boil with the stovetop method! I think this is the best way and possibly, even the easiest way to make it. This recipe wouldn’t be a dulce de leche recipe if it didn’t involve any DIY!
Some might say that this slow process is not worth the result. When you get a can of sweetened condensed milk from the grocery store, why would you want to change it up?
This thick topping opens the possibilities in topping for french toast or drizzling over whipped cream. Use it as a fruit dip with apple slices and other fresh fruit. Get creative with a topping for banoffee pie, or with a Nilla wafers dessert.
There is a huge difference between a dessert that has this delicious dulce de leche and one that could use some.
Real dulce de leche takes recipes to the next level. It’s not your basic caramel topping. It’s sweet, thick, and has a creamier taste. That time spent slow cooking pays up when you enjoy classic recipes with a touch of this sweet treat.
It’s your own homemade caramel – but better. So, so much better. The time making it may seem like a long time, but it’s worth it. Especially when you enjoy your favorite dessert recipes with this milk-jam caramel sauce.
Fresh milk and heavy cream have so many possibilities. Who knew that you can find easy ways to change it up and make your life better?
Key Ingredients

Sweetened condensed milk is commonly located in the Latin aisle of the grocery store, or beside the dry milk. There are several different brands of condensed milk but any kind will work.
Water for boiling.
Find the full printable recipe with specific measurements below.
How to make Easy Homemade Dulce De Leche
Step 1: Prepare
Place a can of sweetened condensed milk into a large pot and fill with water so the can is completely covered.

Step 2: Boil
Boil on medium heat for exactly 2 hours. Add more boiled water throughout the process if it’s not covering the can.

Step 3: Cool
After 2 hours, take the can out and allow it to cool for a few hours on the countertop or in the fridge.

Expert Tips
- Make a few cans at a time. This way, you have some on hand if needed for baking.
- After boiling you leave the cans in your pantry or in the fridge (wherever you have some room). Try to use them within the first three months after cooking.
- After 3 months of storage, dulce de leche develops a sugary consistency. It’s best to use them before 3 months.
Recipe FAQs
This process is commonly used in Latin American, hence the name “dulce de leche”, sweet milk.
I usually cook 4-5 cans at a time, so you have dulce de leche on hand
The following recipes are great to enjoy with this Dulce De Leche!
- Simple Walnut Cookies with Dulce de Leche (Oreshki)
- Russian Layered Honey Cake (Medovik)
- Easy Sweet and Moist Honey Pecan Cake Recipe
- Simple Honey Cake with Cream and Dulce de Leche
More sweet recipes
If you tried this Easy Homemade Dulce de Leche or any other recipe on my website, please leave a 🌟 star rating and let me know how you enjoyed it in the📝 comments below. I love hearing from you!

Make Ahead Easy Homemade Dulce de Leche
Ingredients
- 1 can sweetened condensed milk
- water
Instructions
-
Place a can of sweetened condensed milk into a large pot and fill with water so the can is completely covered.1 can sweetened condensed milk, water

-
Boil on medium heat for exactly 2 hours. Add more boiled water throughout the process if it's not covering the can.

-
After 2 hours, take the can out and allow it to cool for a few hours on the countertop or in the fridge.

